Difference between revisions of "DSP experiments"
| Line 34: | Line 34: | ||
As a start of this new Microchip platform, a reasonable powerful PIC32MX250F128B is chosen, because of the SDIP28 package, for breadbord-friendly testing, and later on we can opt for a dedicated PCB with even more CPU power. | As a start of this new Microchip platform, a reasonable powerful PIC32MX250F128B is chosen, because of the SDIP28 package, for breadbord-friendly testing, and later on we can opt for a dedicated PCB with even more CPU power. | ||
| − | First of all, to confirm that all hardware is working, we can start with a "hello world" for microcontrollers a blinking Led. Since this project is started off with a beginners level, a breadboard is used. | + | First of all, to confirm that all hardware is working, we can start with a "hello world" for microcontrollers a blinking Led. Since this project is started off with a beginners level, a breadboard is used. Minimum connections are made: 1K pullup from MCLR to 3V3, all VDD and VSS pins are connected to 3V3 and GND respectively. Vcap is connected to a 10uF/25V capacitor to GND. RB8 in this example (pin 17) is connected to a Led with 330 Ohms series resistor. |
[[File:blinking_led.jpg|300px]] | [[File:blinking_led.jpg|300px]] | ||
| − | < | + | <pre> |
#include <plib.h> | #include <plib.h> | ||
| Line 79: | Line 79: | ||
} | } | ||
} | } | ||
| − | </ | + | </pre> |
Revision as of 16:18, 7 May 2013
| Project: DSP experiments | |
|---|---|
| Featured: | |
| State | Active |
| Members | Coolepascal, Danny Witberg |
| GitHub | No GitHub project defined. Add your project here. |
| Description | Digital Signal Processing with a microcontroller and DAC |
| Picture | |
| No project picture! Fill in form Picture or Upload a jpeg here | |
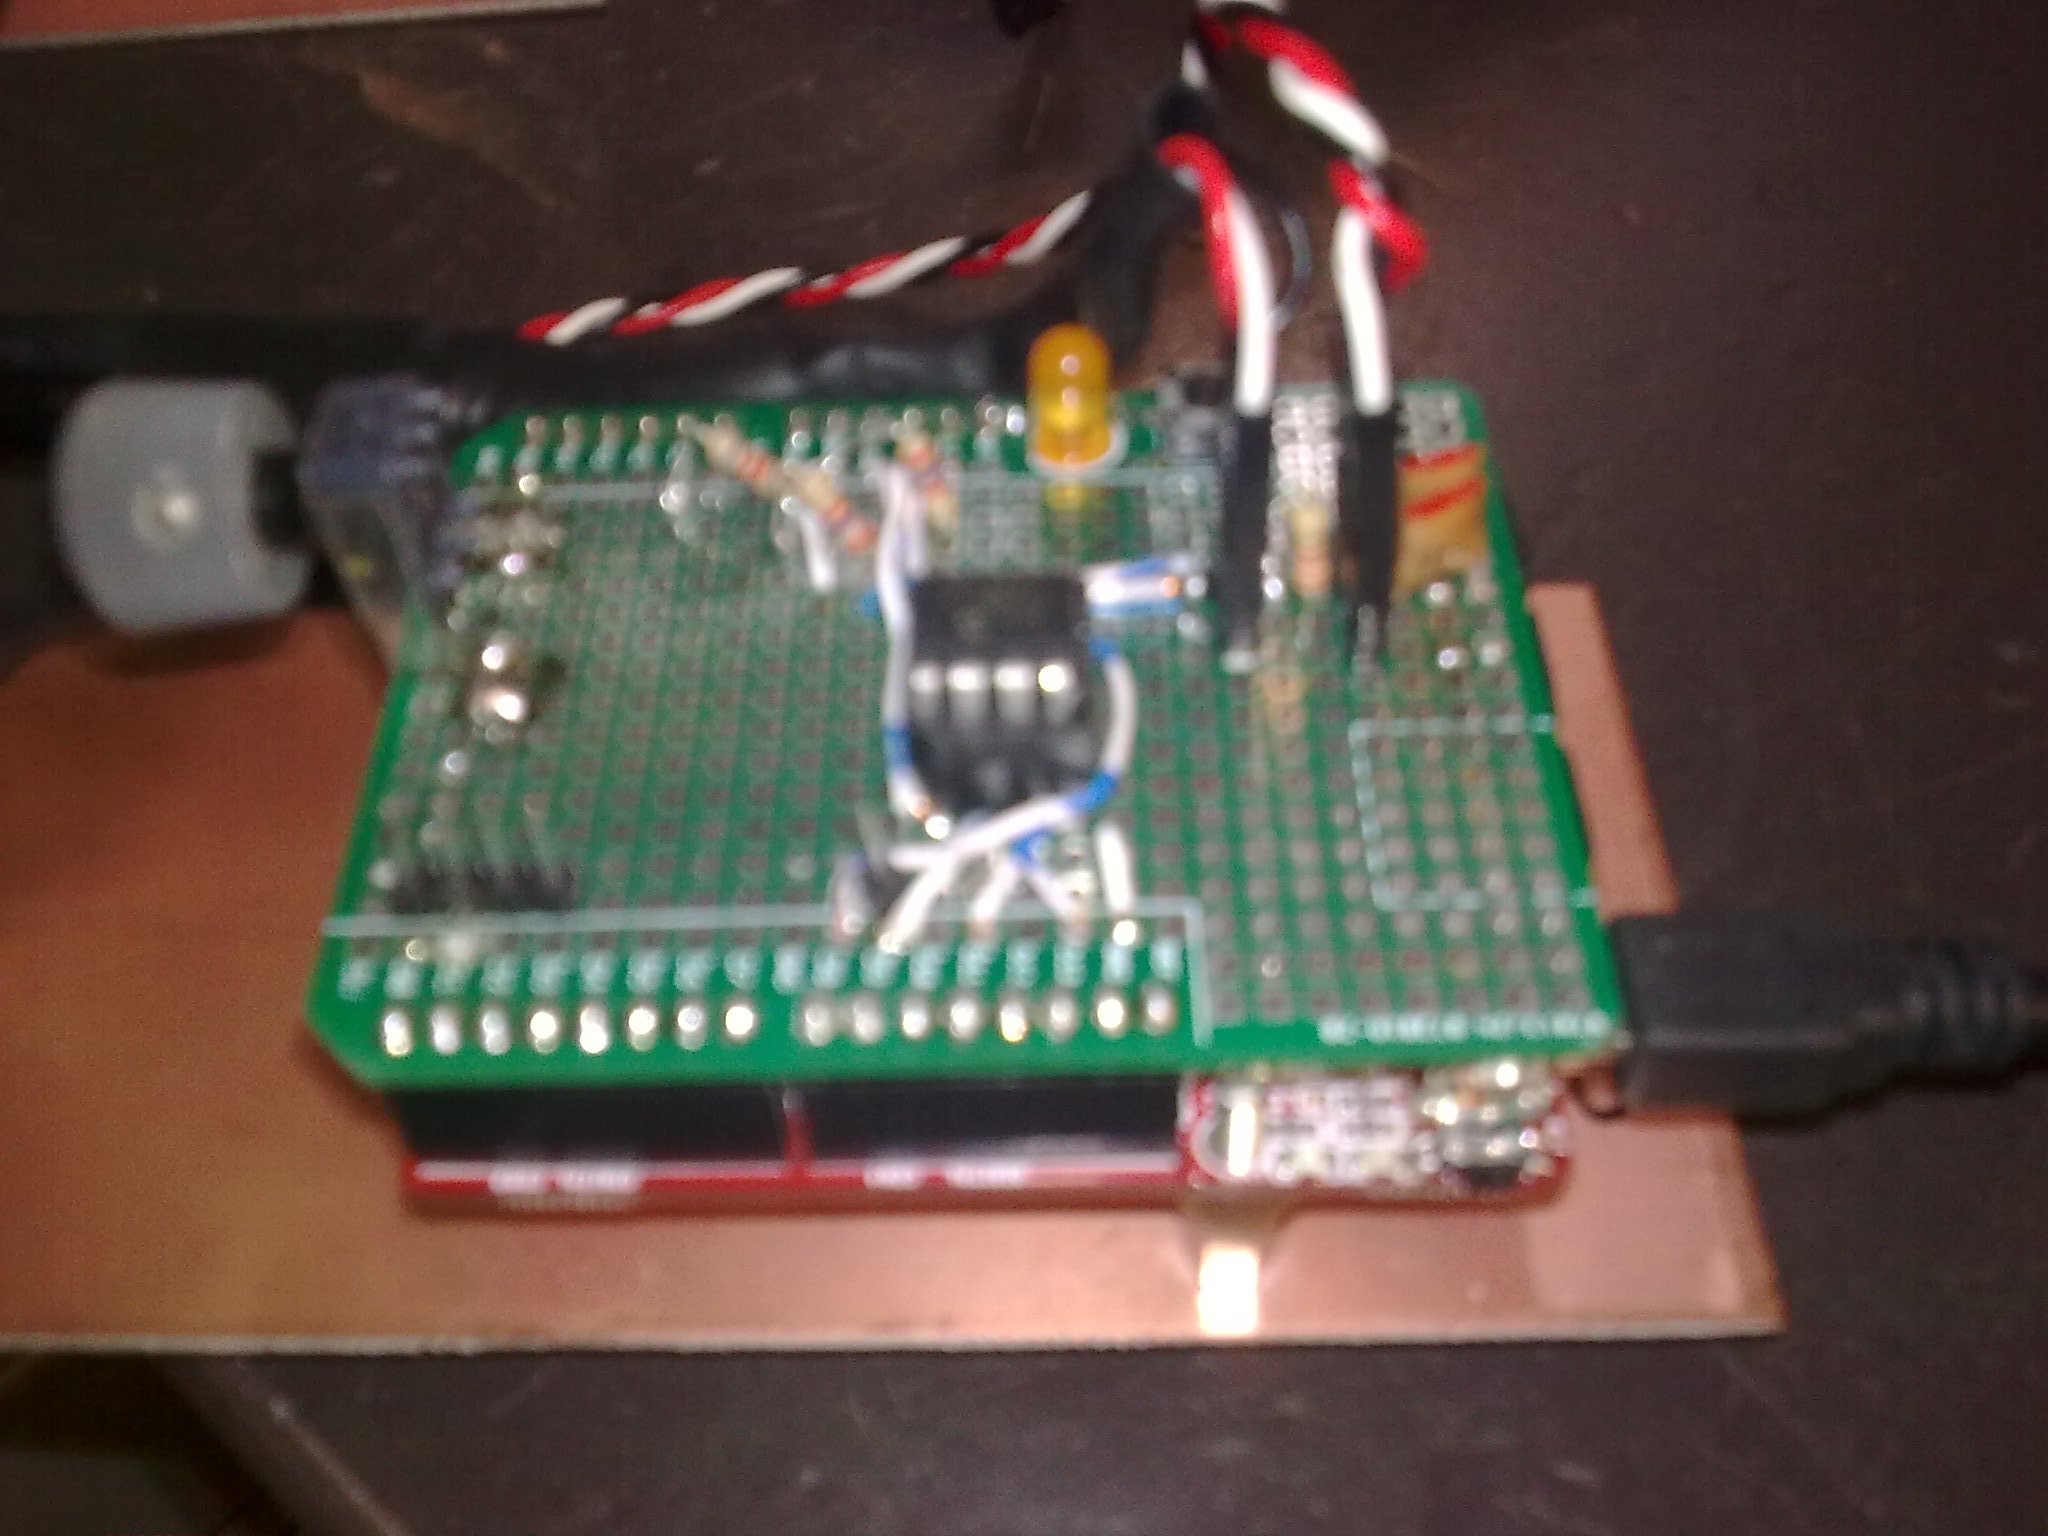
To try out some DigitalAnalogConverters for some DigitalSignalProcessing experiments, i added an MCP4822 dual 12bits dac to my leaflabs Maple board. The Maple board is an Arduino compatible board with an 72MHz Arm Cortex 3 processor.
One of the first experiments was an DirectDigitalSynthesiser with both Sine en Cosine output. Lacking an dual channel osciloscope in out space i decided to use X/Y inputs, which of course would result into an circle on the scope screen.
As Psychic was amazed by this picture i came to the idea to make some fun demo's using this Y/X inputs on the scope whith the folowing result:
Continuing with this sucses i also came to some memory issues on the Maple so i tried the same on the chipKit MAX32 board, which in fact is an Arduino Mega compatible using an PIC32 processor. Initialy basicly copieing the code with some slight adjustments due to difference in hardware and libraries. This time i also did connect an electret microphone to one of the analog inputs, as wel as some variable resistors residing on an MIDI interface shield. I fairly quickly was able to record sound and play it back on an faster or slower rate (adjustable by one of the variable resistors)
In succession of these awesome DSP expiriments, the microchip platform offers several fast microcontrollers suitable for DSP tasks. Interfacing include I²S bus over SPI port, with a 64 bit frame, and LRCK output on the \Slave Select port. Also, an USB interface can act as an soundcard device for audio input and output. This new PIC platform has a RISC MIPS4K core, and DSP capabilities include a 32 bit single cycle multiply-accumulator.
As a start of this new Microchip platform, a reasonable powerful PIC32MX250F128B is chosen, because of the SDIP28 package, for breadbord-friendly testing, and later on we can opt for a dedicated PCB with even more CPU power.
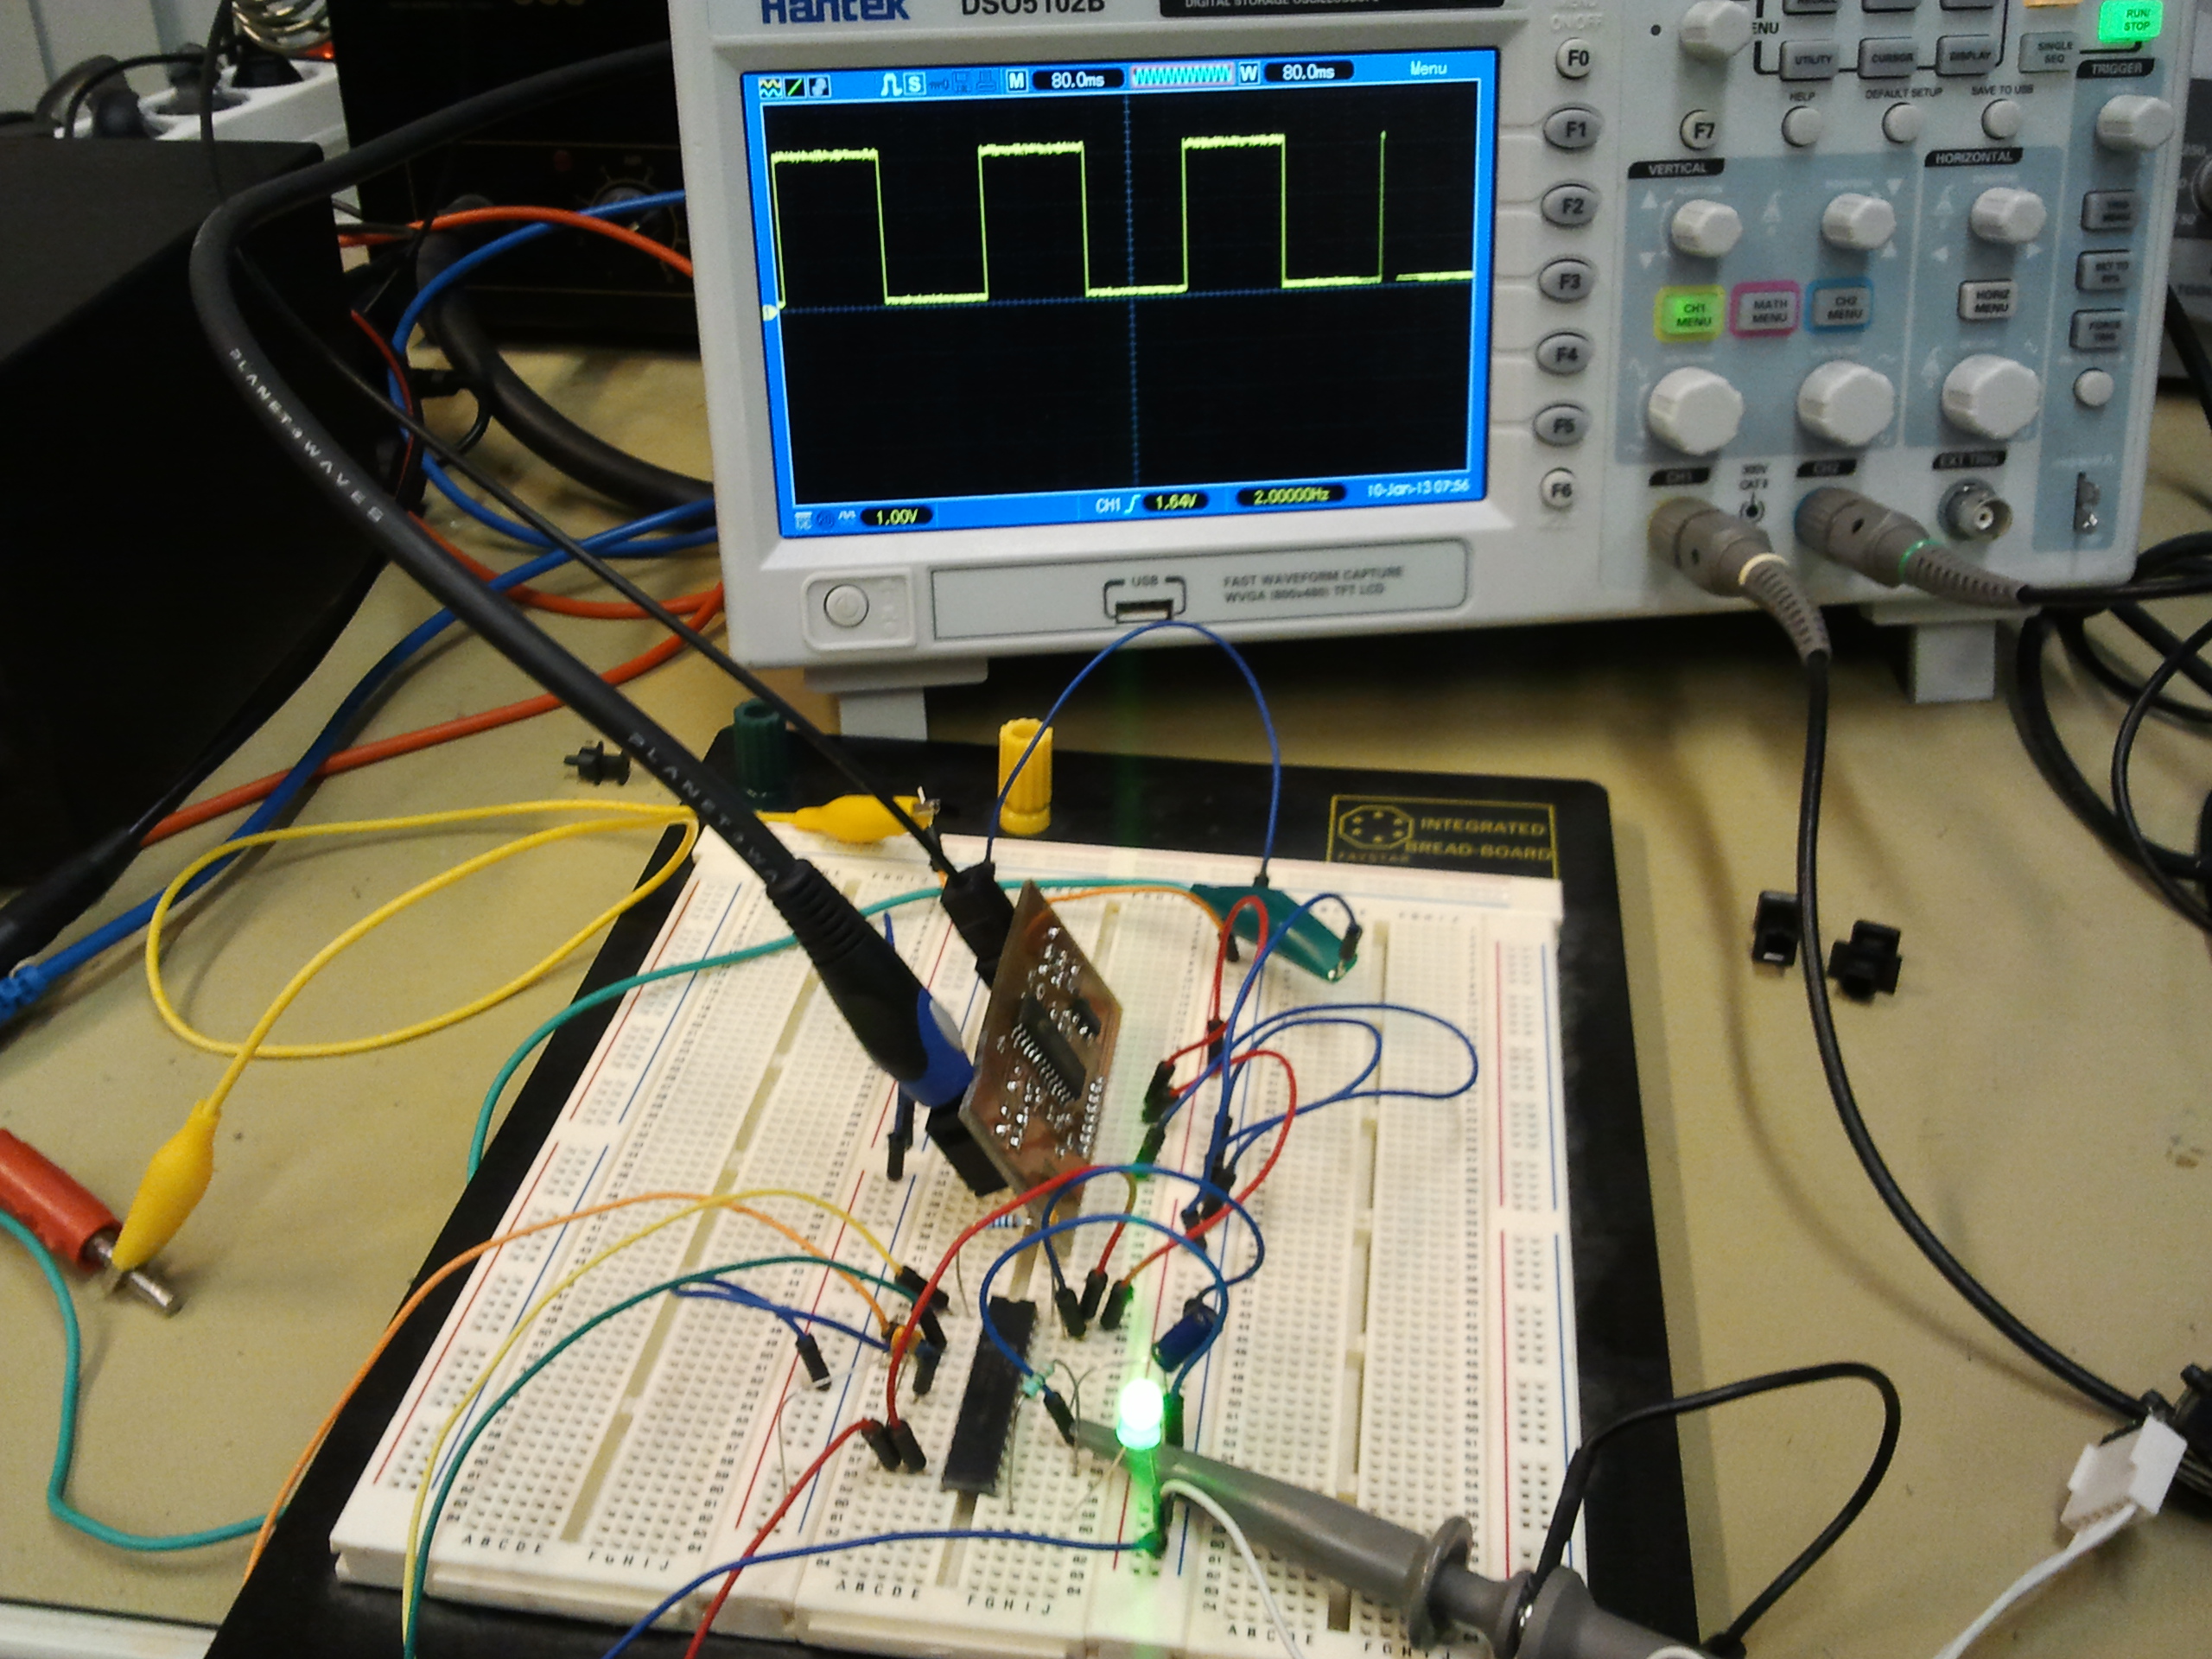
First of all, to confirm that all hardware is working, we can start with a "hello world" for microcontrollers a blinking Led. Since this project is started off with a beginners level, a breadboard is used. Minimum connections are made: 1K pullup from MCLR to 3V3, all VDD and VSS pins are connected to 3V3 and GND respectively. Vcap is connected to a 10uF/25V capacitor to GND. RB8 in this example (pin 17) is connected to a Led with 330 Ohms series resistor.
#include <plib.h>

// Configuration Bit settings
// SYSCLK = 48 MHz (8MHz Internal clock / FPLLIDIV * FPLLMUL / FPLLODIV)
// PBCLK = 48 MHz (SYSCLK / FPBDIV)
// WDT OFF
// Other options are don't care
#pragma config FPLLMUL = MUL_24, FPLLIDIV = DIV_2, FPLLODIV = DIV_2, FWDTEN = OFF
#pragma config POSCMOD = OFF, FNOSC = FRCPLL, FPBDIV = DIV_1
#define SYS_FREQ (48000000L)

int main(void)
{
    int i;

    // Configure the device for maximum performance but do not change the PBDIV
    // Given the options, this function will change the flash wait states, RAM
    // wait state and enable prefetch cache but will not change the PBDIV.
    // The PBDIV value is already set via the pragma FPBDIV option above.
    SYSTEMConfig(SYS_FREQ, SYS_CFG_WAIT_STATES | SYS_CFG_PCACHE);

    // Explorer-16 LEDs are on lower 8-bits of PORTA and to use all LEDs, JTAG port must be disabled.
    mJTAGPortEnable(DEBUG_JTAGPORT_OFF);

    TRISBbits.TRISB8 = 0; // make RB8 pin output

    PORTBbits.RB8 = 0;

    while (1){
        if (PORTBbits.RB8==0) {
         PORTBbits.RB8 = 1;
        } else {
         PORTBbits.RB8 = 0;
        }

        // Insert some delay
        i = 1024 * 1024;
        while (i--);
    }
}

